Wyvern
Hey guys, here is my wyvern.
I spent a bit more time to work my wyvern after CGMA course
For CGMA course 'Sculpting Anatomy: from Animal to Creature' with Gael Kerchenbaum.
Gael is a great teacher and I learned a lot durning his class, and he give me more useful comments to improve my skill.
https://www.artstation.com/gaelkerchy
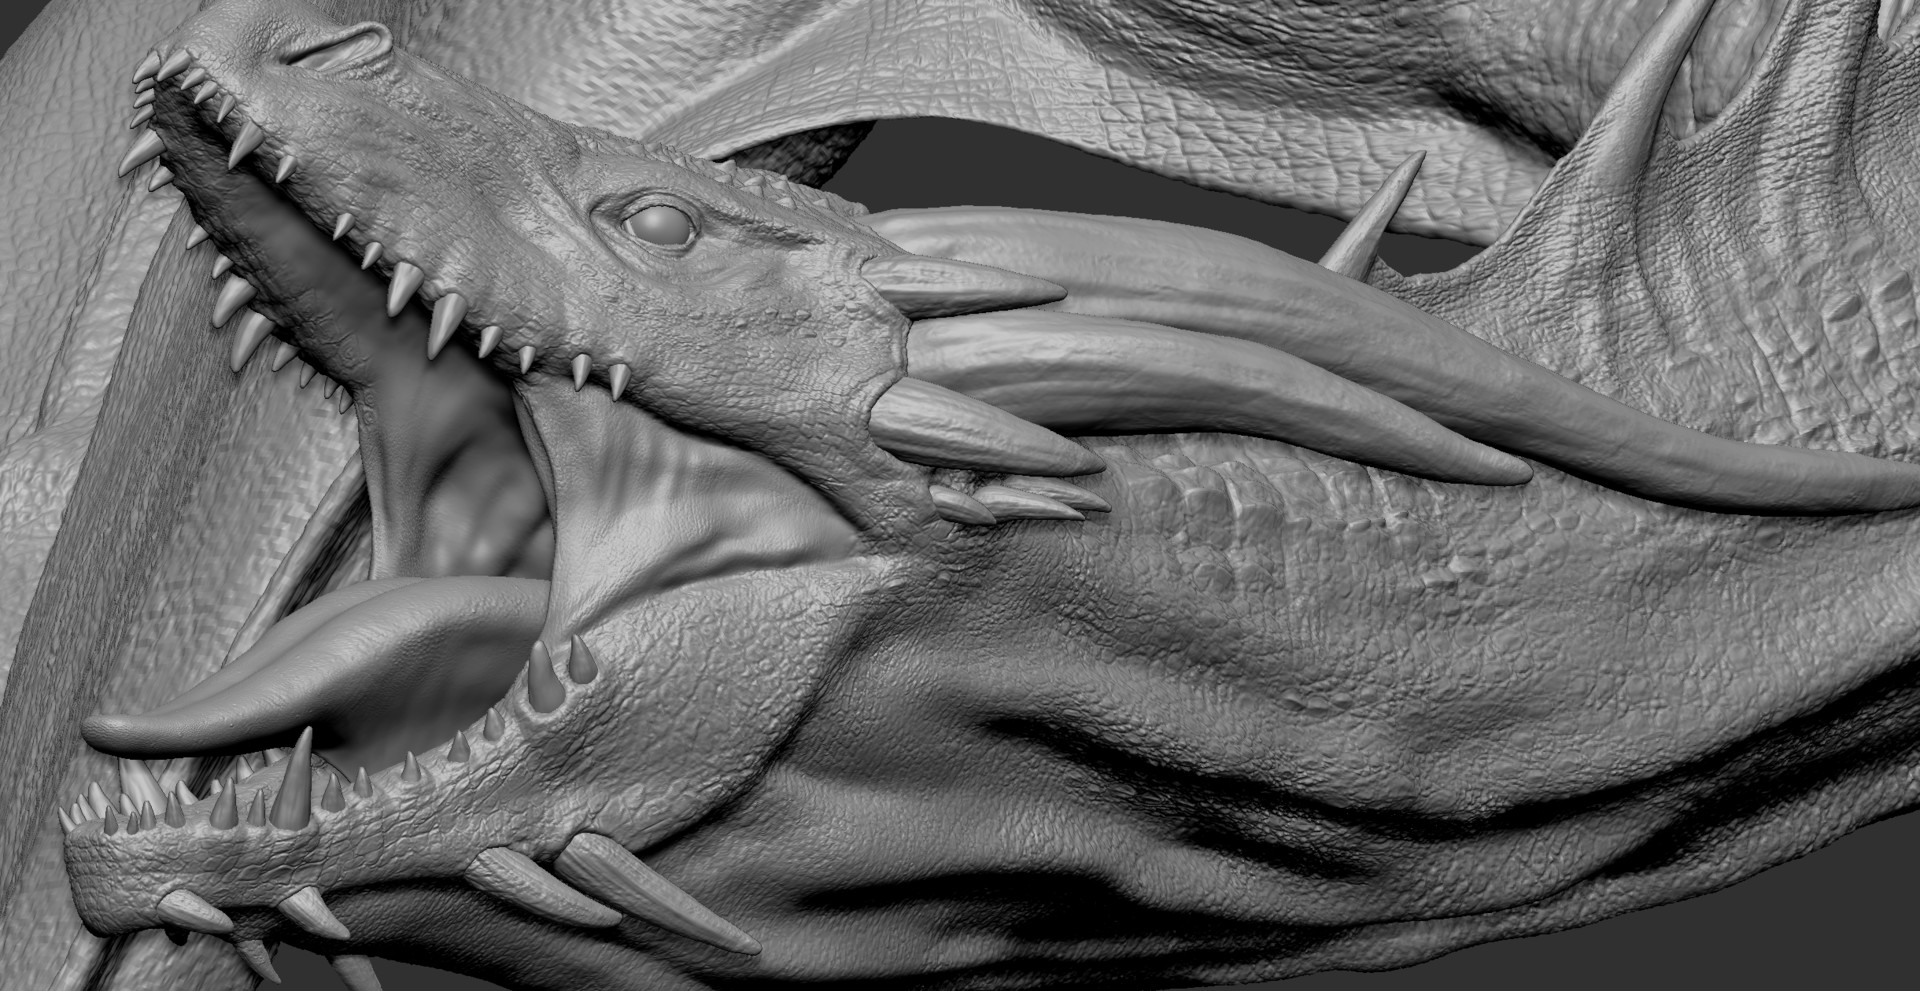
For design this wyvern I starting to search a huge of life reference in google , then go to skeleton, adding muscles, and skin. For scales, I use Texturingxyz "https://texturing.xyz/collections/animals" to create the displacement map in mari, then apply to zbrush to sculpt the scale details. After this, I paint in mari and rendered in maya using arnold.
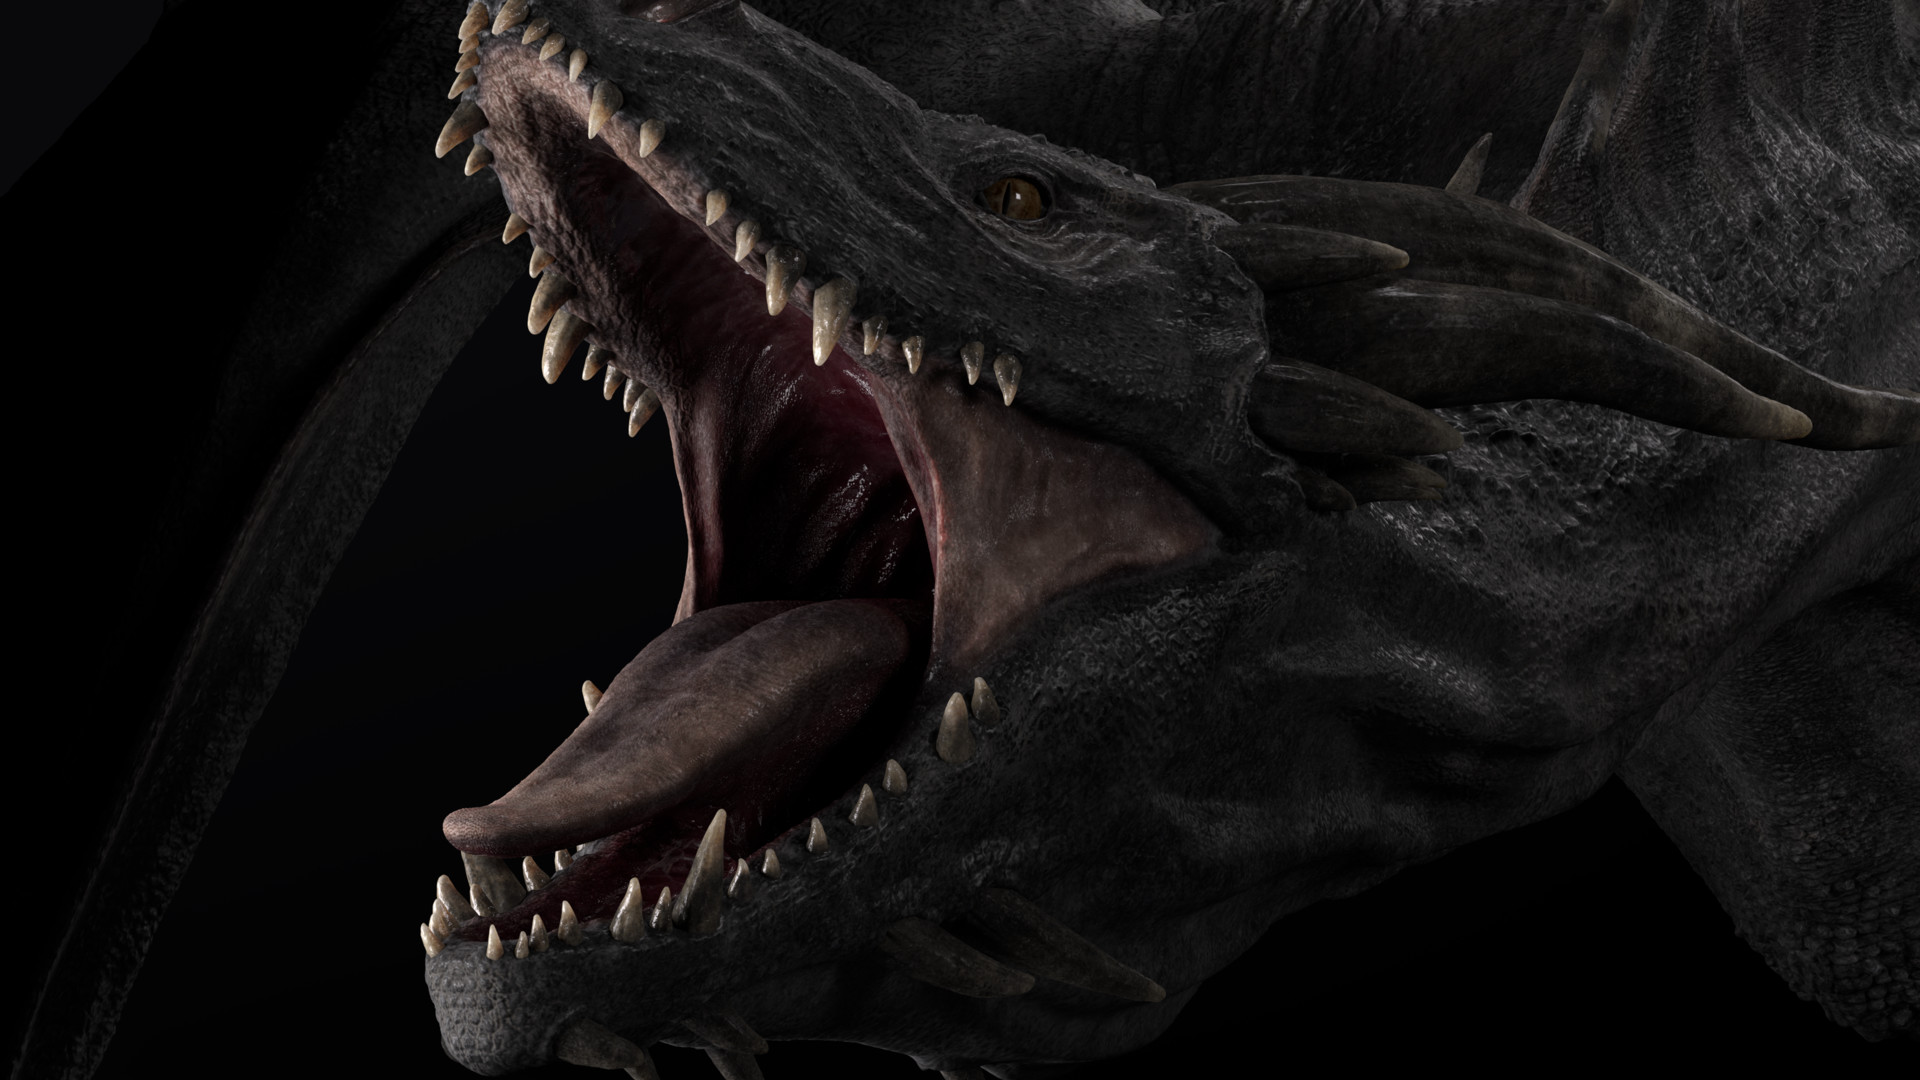


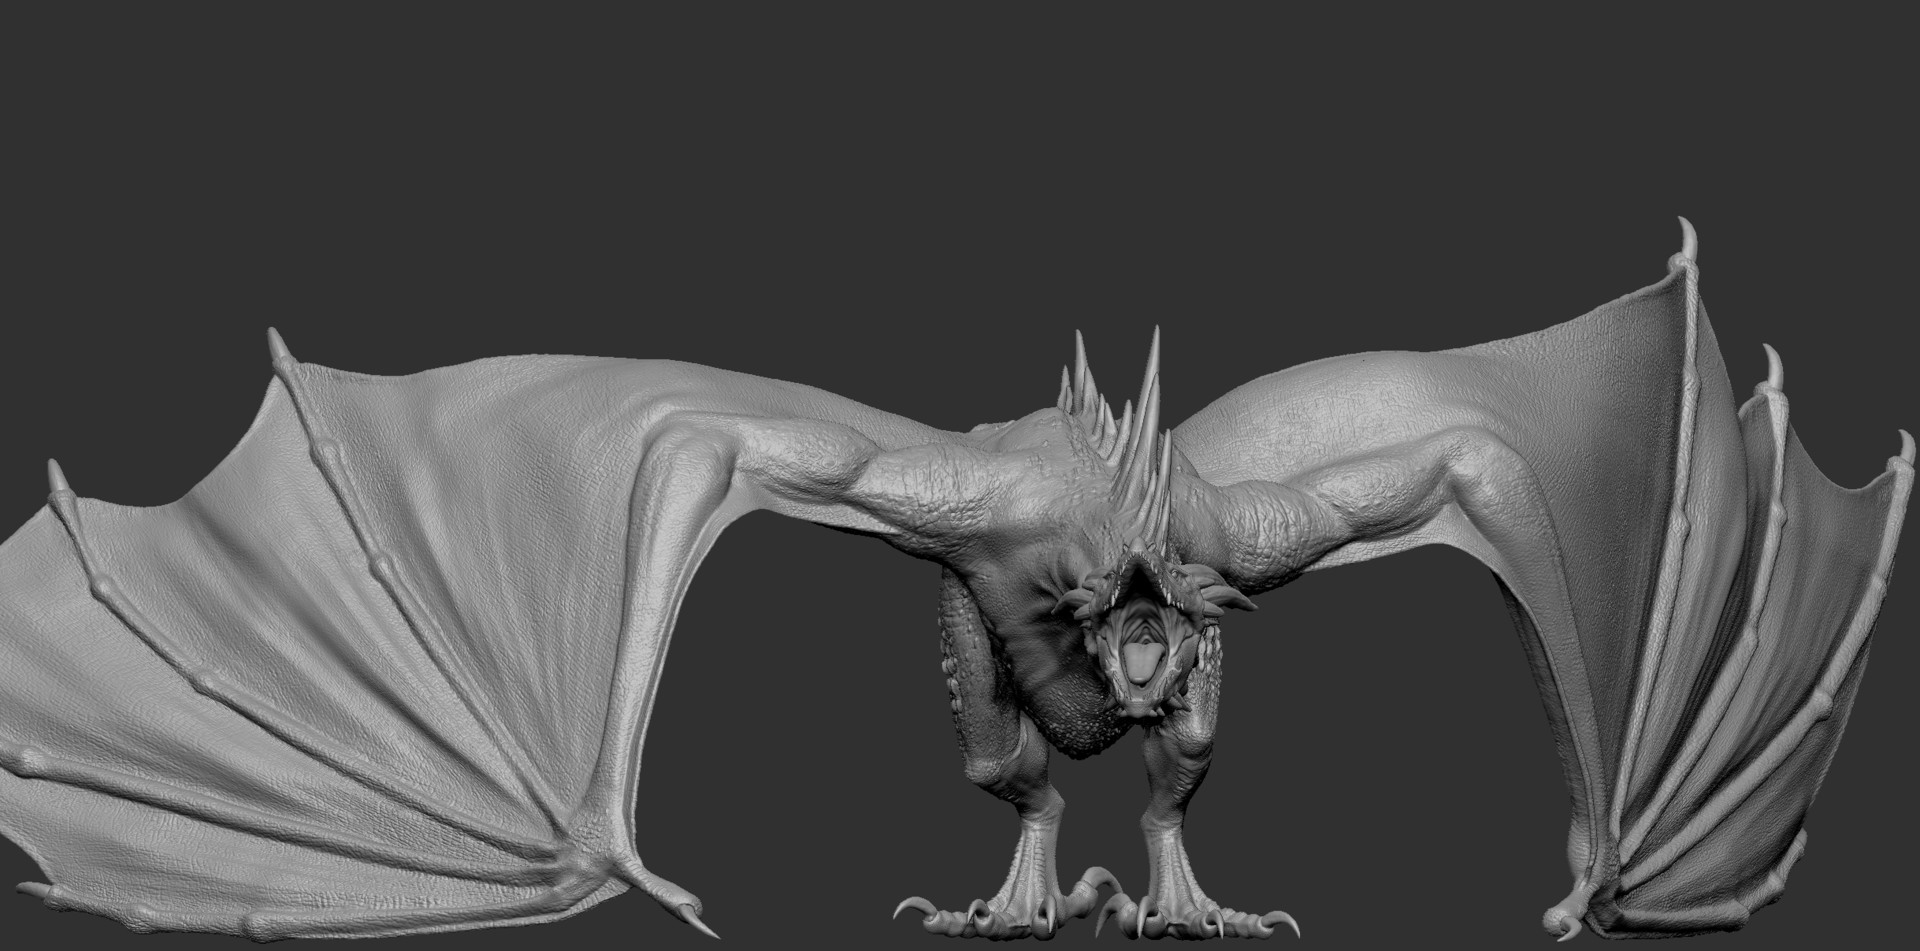
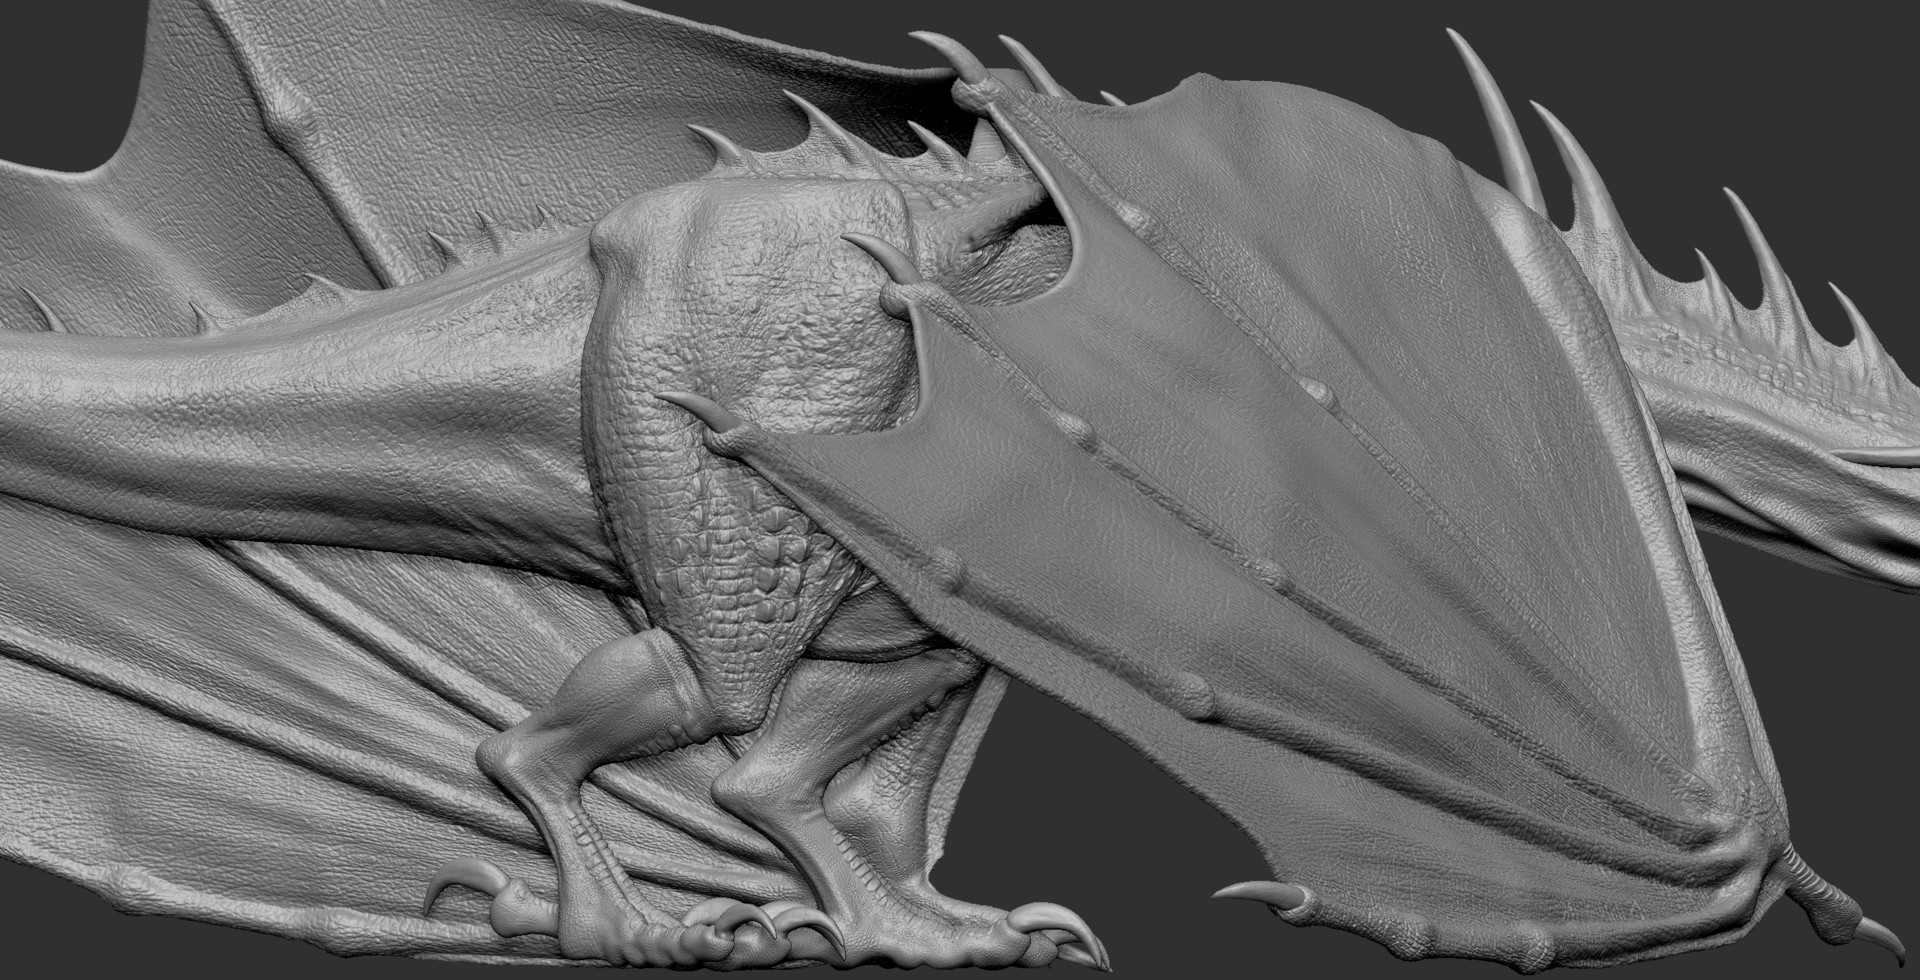
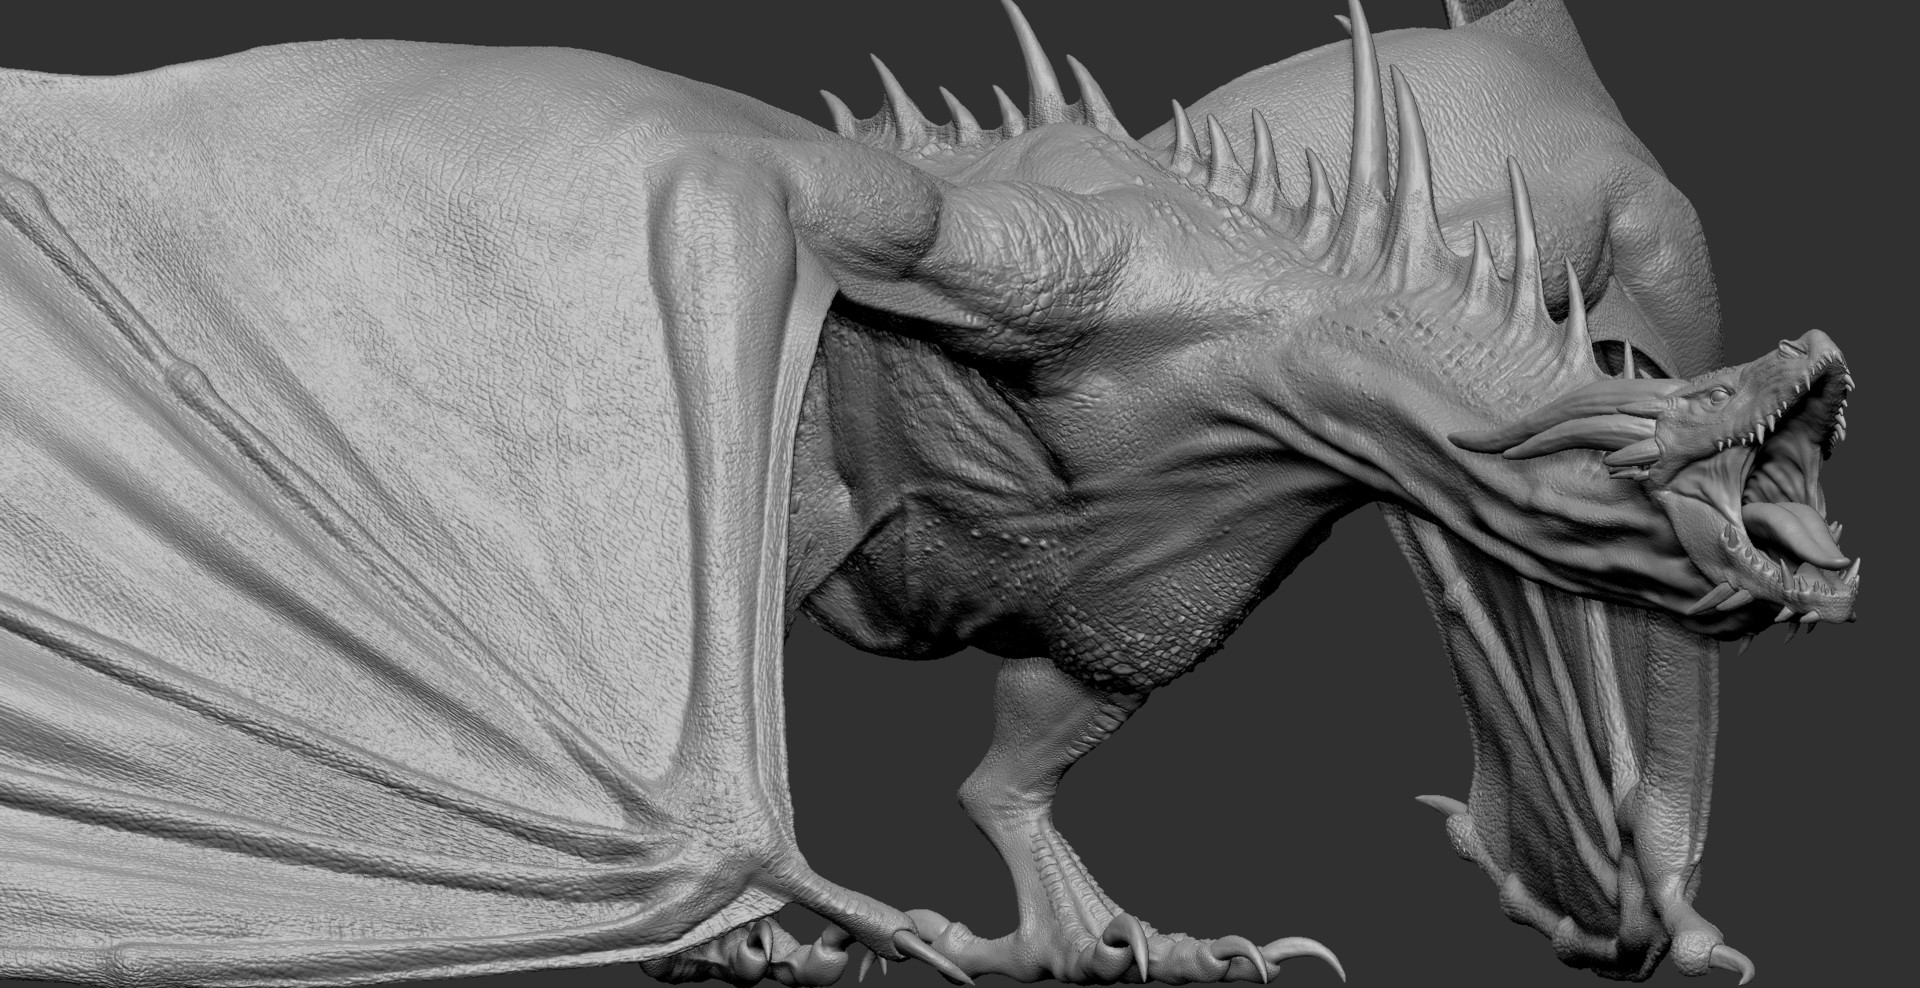


Here is one of my concept board for my wyvern, "Purref" is very help for this.
https://www.pureref.com/
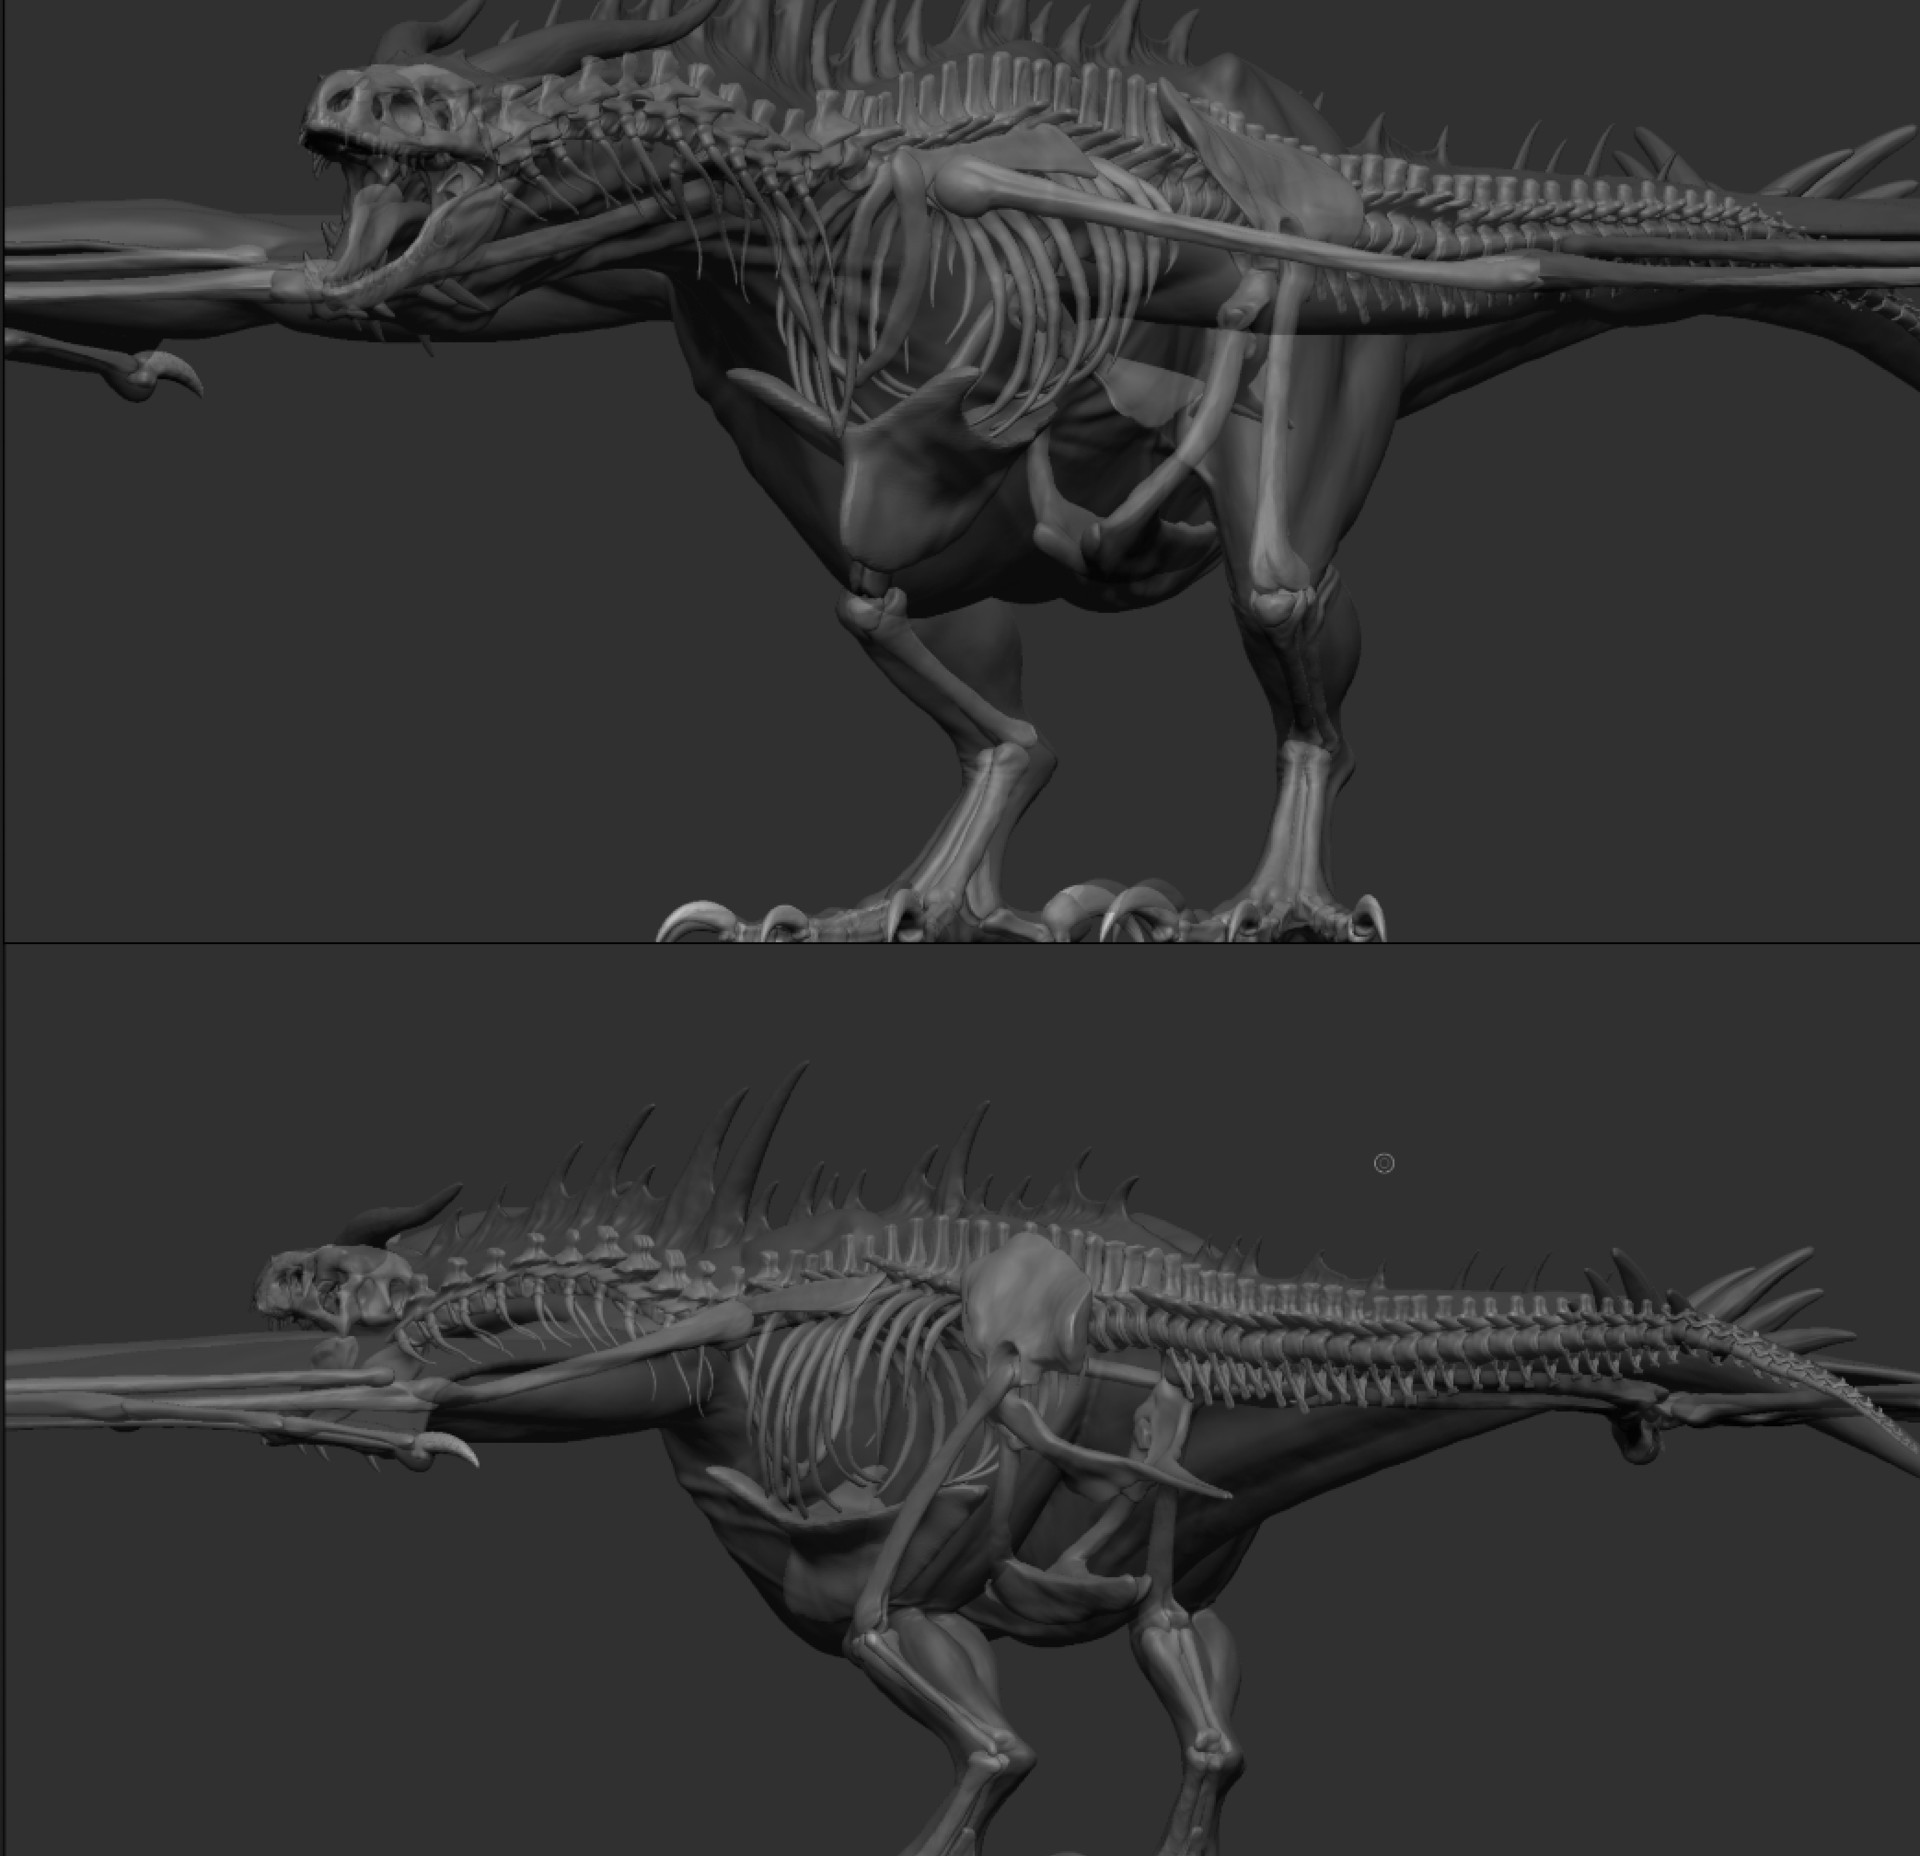
Starting zbrush sculpt from skeleton, adding muscles, then skin. I base on different animal anatomy to modify my wyvern

The horn and main concept base on Marine iguana, T-rex for body, bat for wing, bird for chest to make sure have enough muscle to fly.The leg of grab, I follow eagle, I would like my wyvern can catch food(food : lion/ deer / cow ) like eagle

teeth as crocodile look, and same structure as the eye cover for protection.
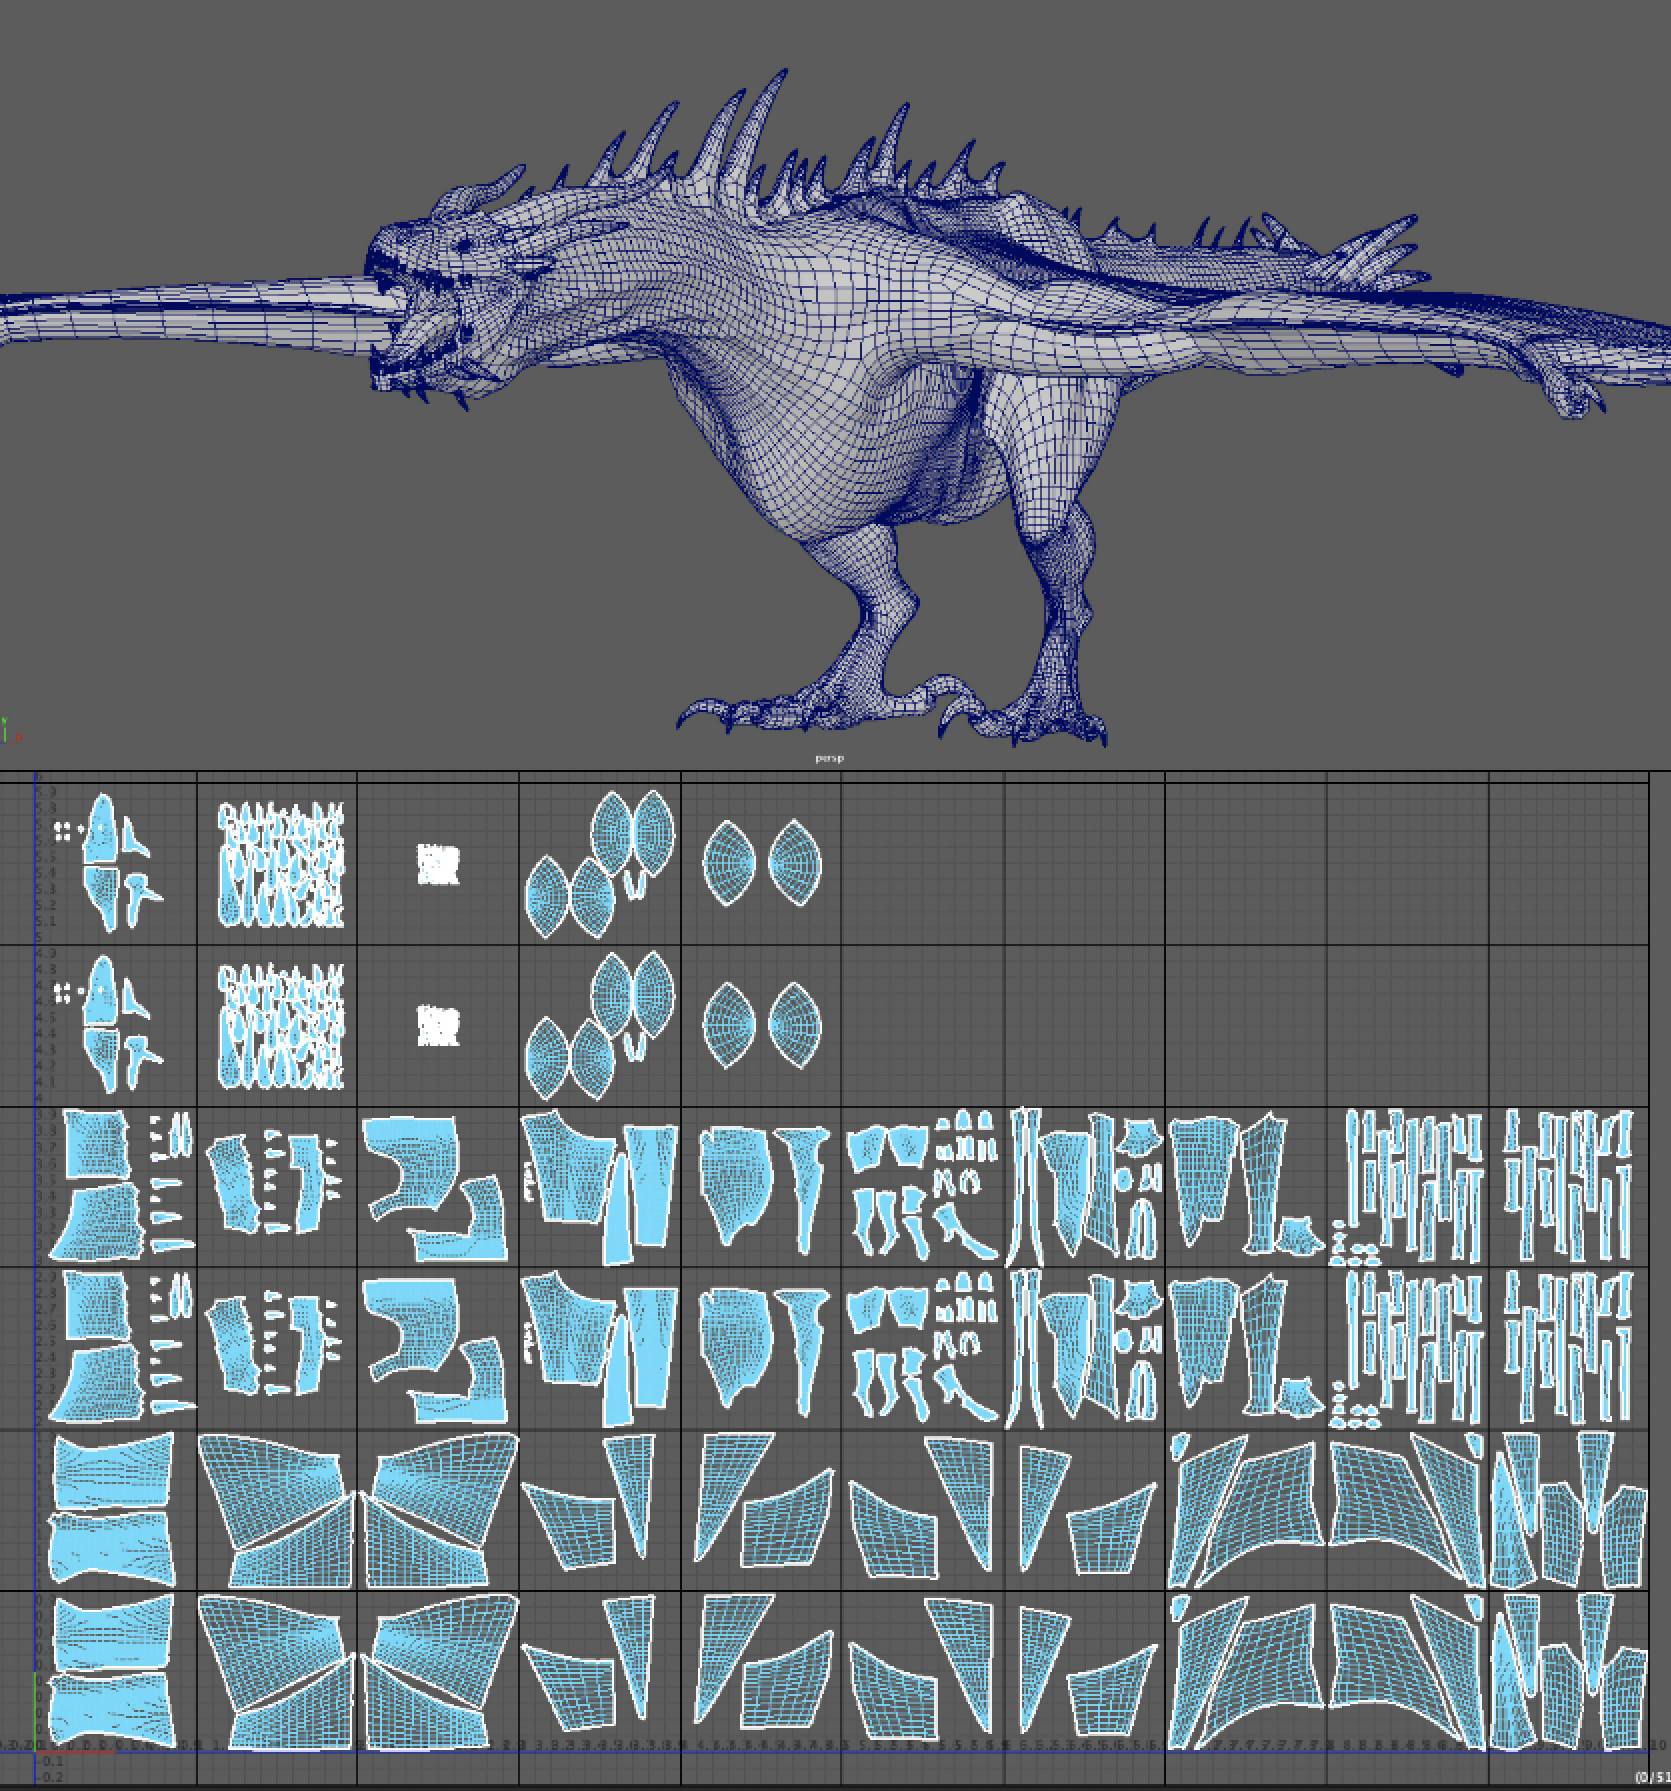
After finish the basic shape in zbrush , I use maya to retopology and prepare UV. Since the head is very small compare with the body, however I would like to keep high resolution for head, the only way is make a lot of UV tile.
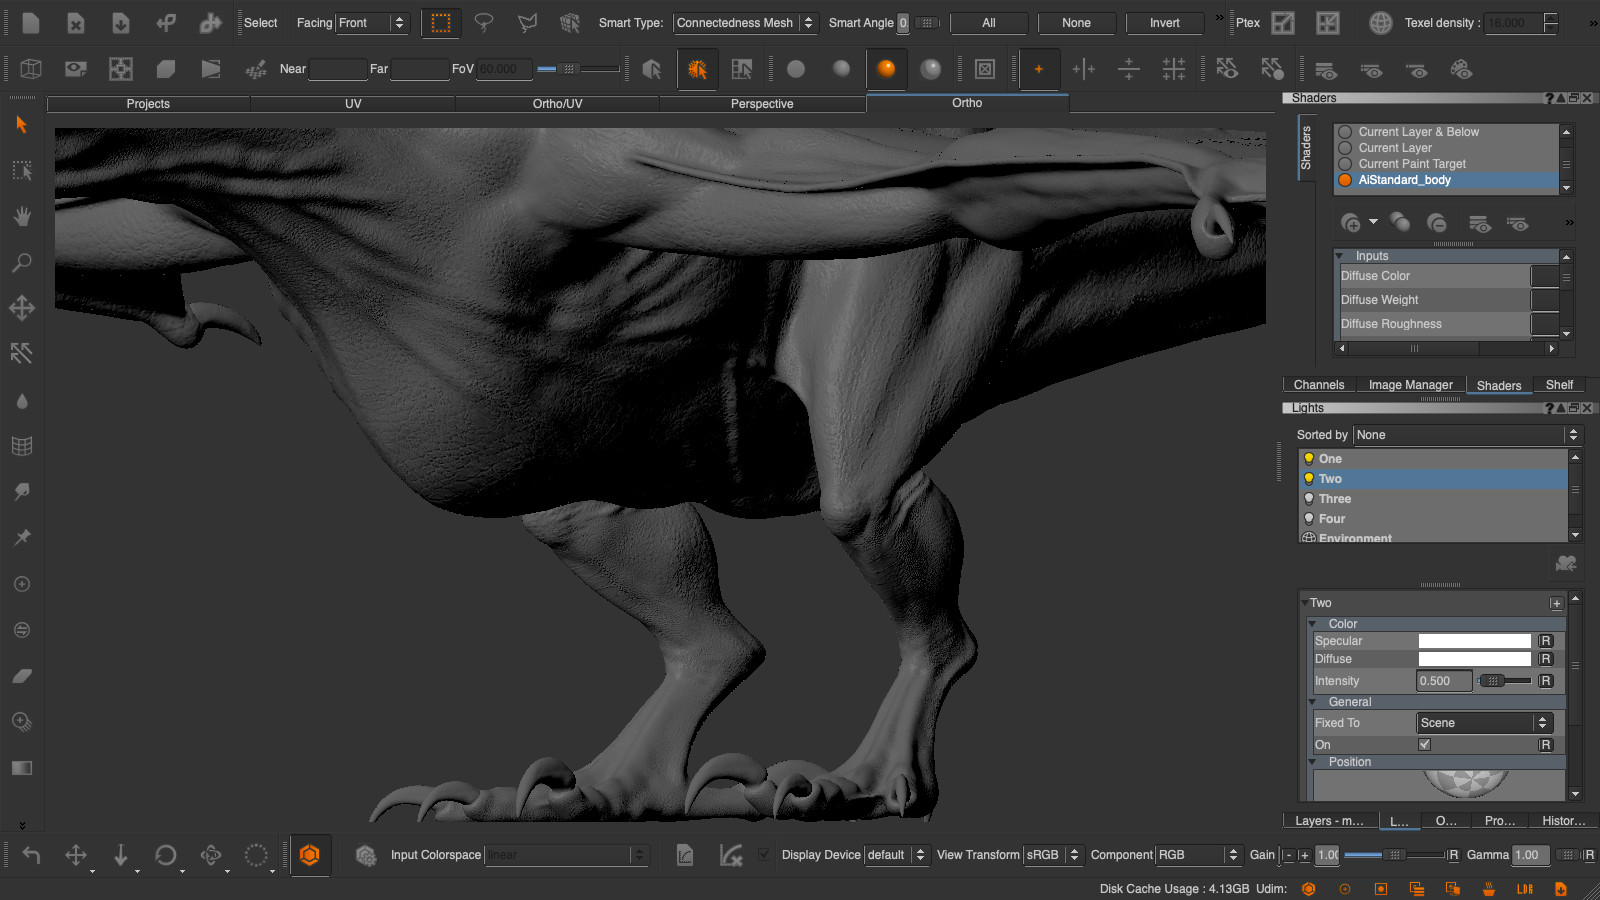
Set up mari shader in AI standard, then I use different animal scales in Texturingxyz to create the displacement map in mari
"https://texturing.xyz/collections/animals"

Modify Texturingxyz to my own alpha, import displacement map from mari, then scuplt scales details. When finish it, export displacement map for maya arnold rendering. Normal map, cavities map and curvature map to mari for painting.

I find more life reference to help me for paint skin color variation, dirty area and dust look
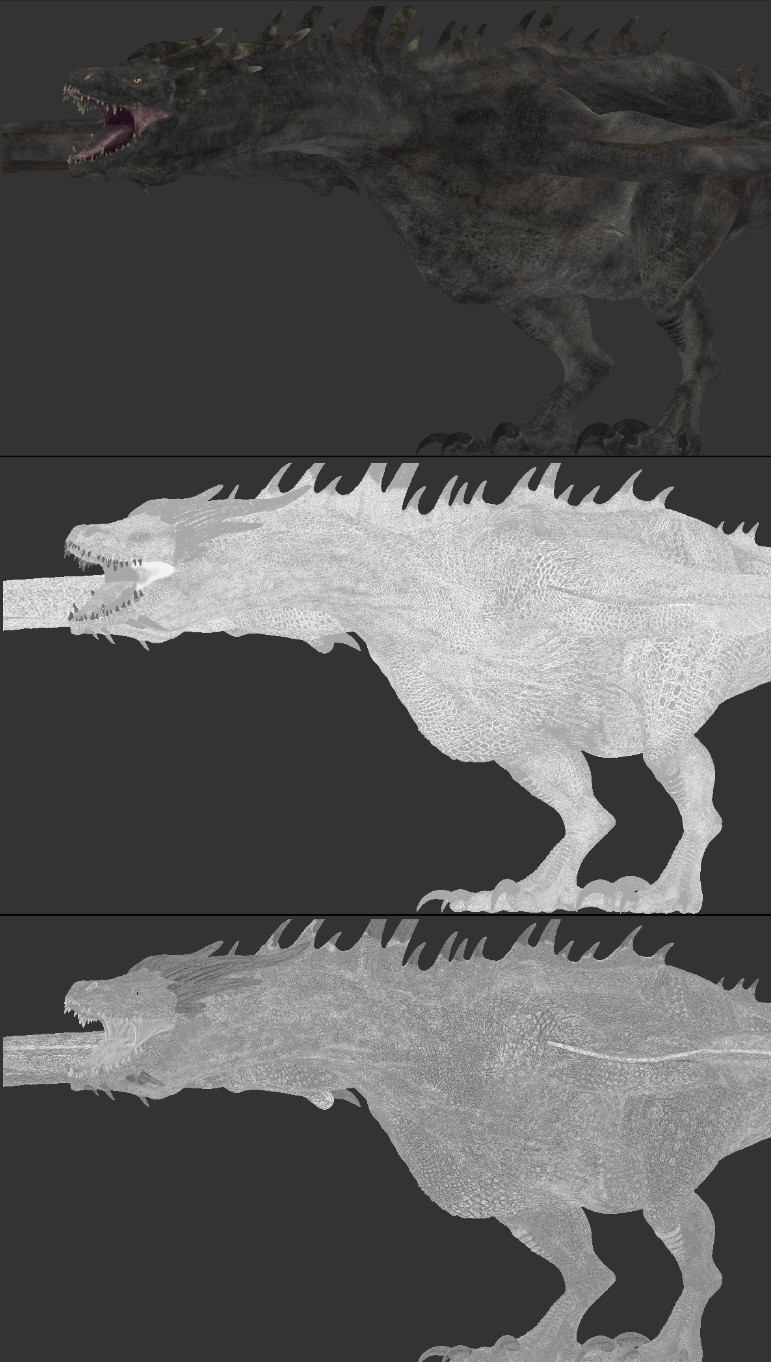
after paint in mari, export spec map/ specroughness map, diffuse map to maya.

T- rex is around 6m high. I base on 2m high of human to see the proportion to create the wyvern around 8m. After set up the size, I will import spec, specroughness, diffuse and displacement to maya for render. Here is all of my work flow, enjoy :)
wyvern